Raycasting
- Date
- Summer 2009
- Tech
- C#.NET
2020 Update
I have ported this project to javascript and put the code publicly on my Github.
Not a Graphics Library
The viewport is a 2D image, and we draw columns of pixels at certain heights to give the impression of walls. There's no external graphics libraries here - just the base functionality to draw pixels to a 2D canvas.
The concept of raycasting is simple, but in practice involves some trigonometry, and a lot of different use-cases depending on which way the player is facing. This gets considerably more difficult if the player is looking upwards or downwards, but I didn't get that far.
The steps are:
- Get the screen width of the viewport, in our case 320 pixels.
- For each of these columns of pixels, cast a ray into the grid.
- If the ray touches a wall, we have a hit. If not, continue the ray to the next gridline.
- If we have a hit, determine the entire length of the ray. This tells us how many pixels to draw for that column in the viewport.
- Do a texture lookup to determine which colours the pixels need to be.
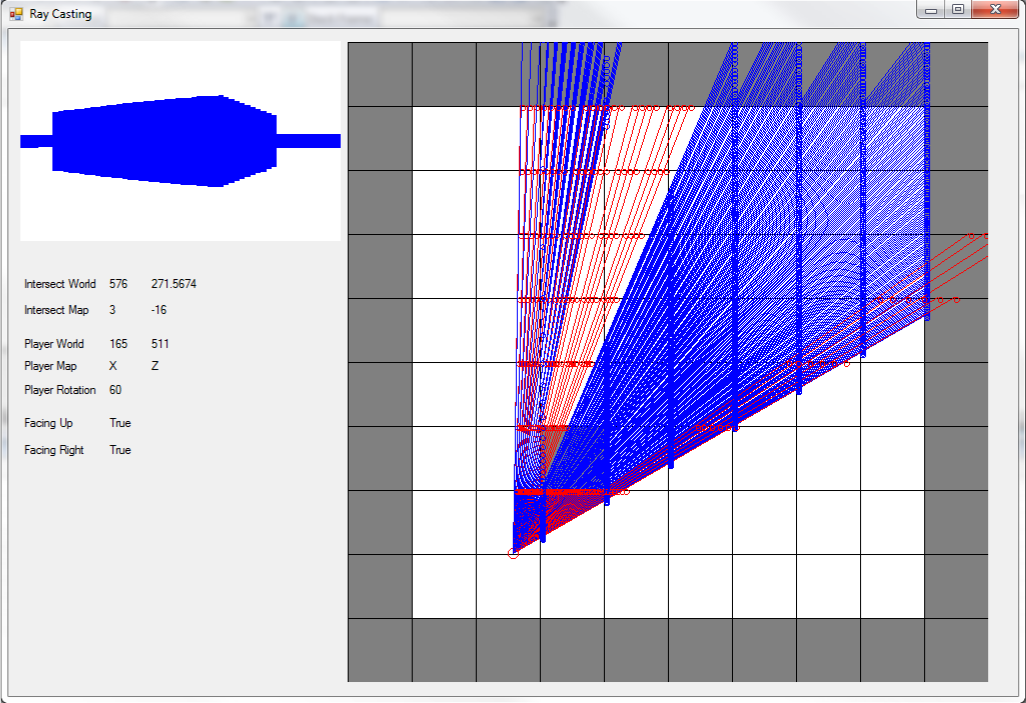
The below image demonstrates this more clearly:

Note that the map has a predictable structure in that walls can only appear along grid lines, and they are only ever a solid wall (as far as this demo goes).
The viewport is 320x200. So we have 320 columns of pixels at 200 pixels each. For each ray, we keep iterating through the grid until we hit a wall. The length of the ray then determines the height/count of pixels we will draw for that column. The shorter the ray, the MORE pixels we draw in the column, as obviously the wall is closer to the player. The floor and ceiling are just background colours prior to us drawing the walls.
That's really it - the viewport is just rendering taller pixels per column. The floor and ceiling is just a solid colour each.
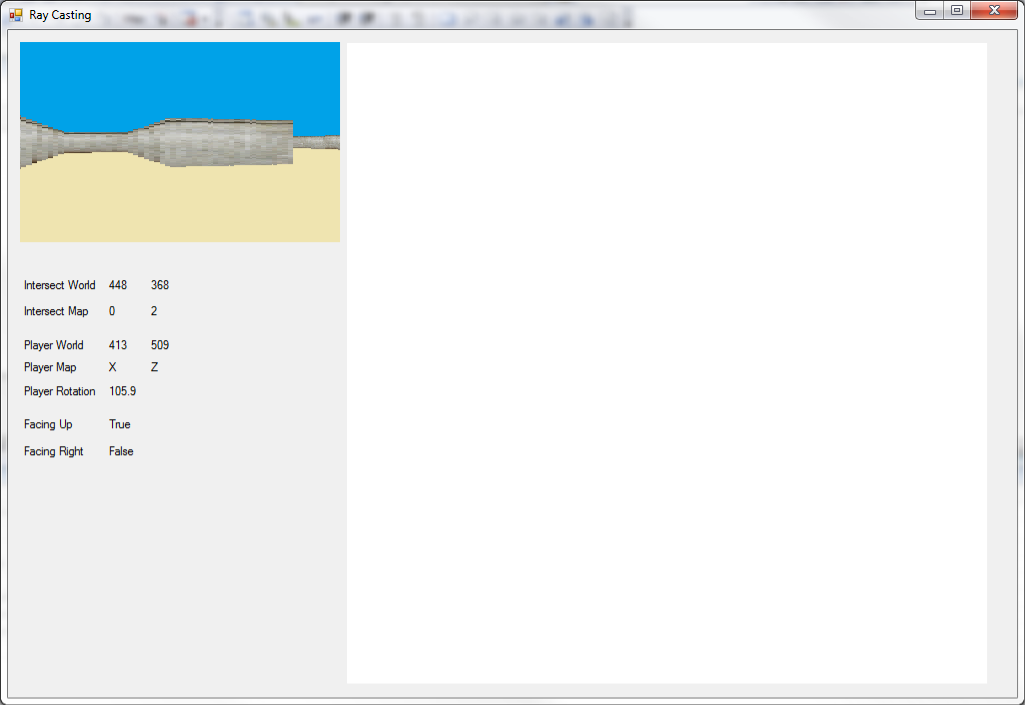
Texturing starts to get more interesting:

Once we've done all the above steps, we can then think about colouring the pixels to better represent the game world. We know which wall texture we have - we use whatever image API we have on the system to lookup the pixel value at the correct column of pixels into the image. So if the image is 128x128 pixels, and each map grid is 64x64 - we know where on the gridline our ray has hit, and then map that to 128 to get the correct column from the image. We then use the ray length to determine which rows of the image to map to our viewport's pixel column.
I appreciate this is a good example of the old "how to draw an owl" meme, but the maths is all decent trigonometry, and it's been years since I've even run this project.